Catio Instructions!

This instruction guide is to help you put together one of our 3 sided Catios whether it be a standard size from our website or a custom job. Just a reminder that we do offer a fitting service where our team will put this up for you at the time of delivery. This can be added to your Catio at the time of purchase.
This is the method our team would use:
You will need:
- 2 pairs of hands
- A power drill
- Fixings to fix to the wall / floor (these are not provided as it's your preference how / what is used)
- A ladder or step may be required to put roof panels on tall runs.
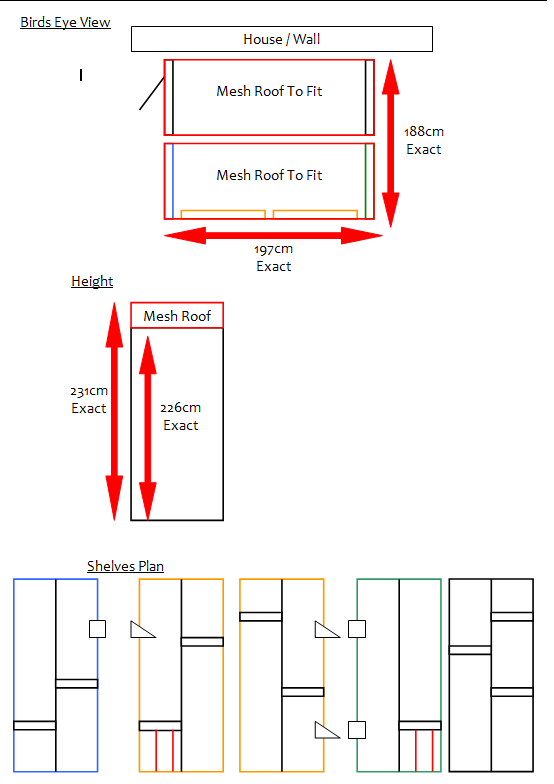
To start please find the invoice that comes with your order as this will have a drawing entailing how the panels are positioned and how many of each panel you should have.
If you have brought a standard run and haven't received this give us a call or an email and we can email one over to you. Those who have purchased a custom run this is the plan you confirmed before we made this for you.
The plan will include the panel placements and how these should be fixed together.
Please see below a plan for one of our standard Catios.
When it comes to fixing the panels together you can do this either with the screws provided or you could bolt or cable tie the panels if preferred.
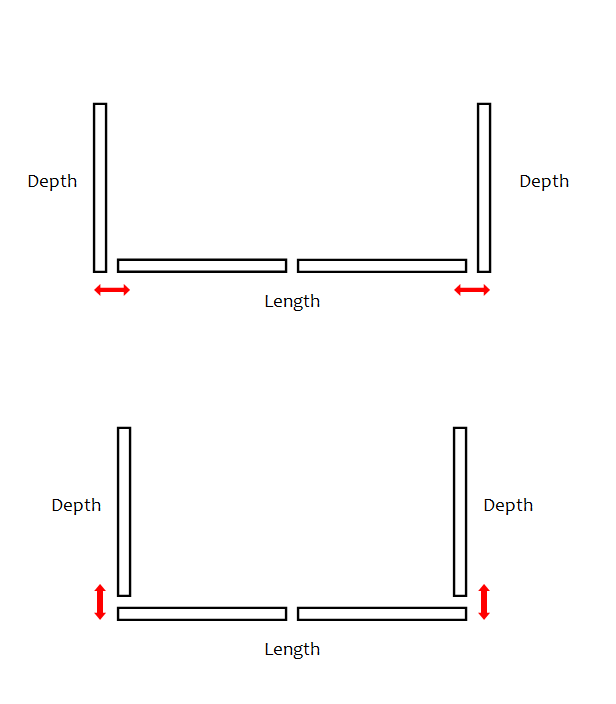
We always recommend to make this easier to start with the panels that make up the width (1 side) and to join the two sides to either end afterwards.
Please pay close attention on the plan to what position the end panels sit. These can be either inside the two sides or on the end as seen in the below diagram.
Then fix the panels to the wall or the base (however you would prefer). Take great care not to damage the walls / base when fixing to them. We would recommend screwing into mortar wherever is possible as this can easily be replaced.
Once the catio is secured you would begin to carefully lift the roof on top.
Depending on what size run you have purchased determines whether the roof would need to be fixing to the wall to hold this up.
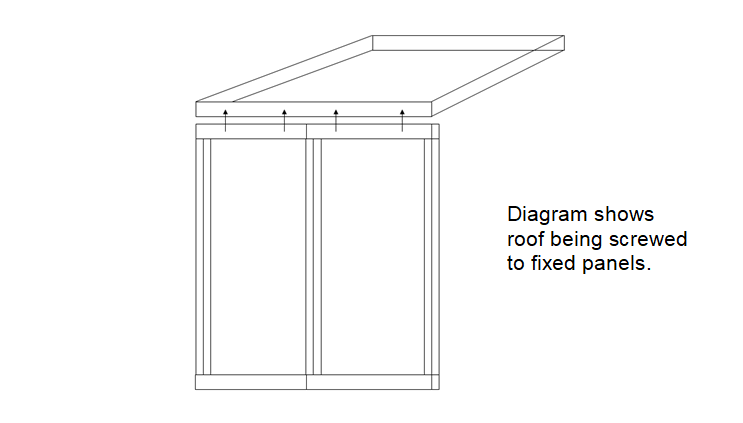
If the roof runs side to side (depth to depth - see previous diagram) the roof panels can simply be carefully placed on top in line with the side panels and fixed on. This can be done by going inside the catio and screwing up through the side panels into the roof timber frame.
If the roof panel runs from your wall to the front of the catio (open end to the length - see previous diagram) we recommend the easiest method is fixing a piece of timber to the wall in line with the side panels (like you are continuing the outer frame around the top of the side panels). You can then sit the roof panels on this and screw up into them the same as the previous.
Make sure the roof is fully secured to prevent it falling into the Catio.
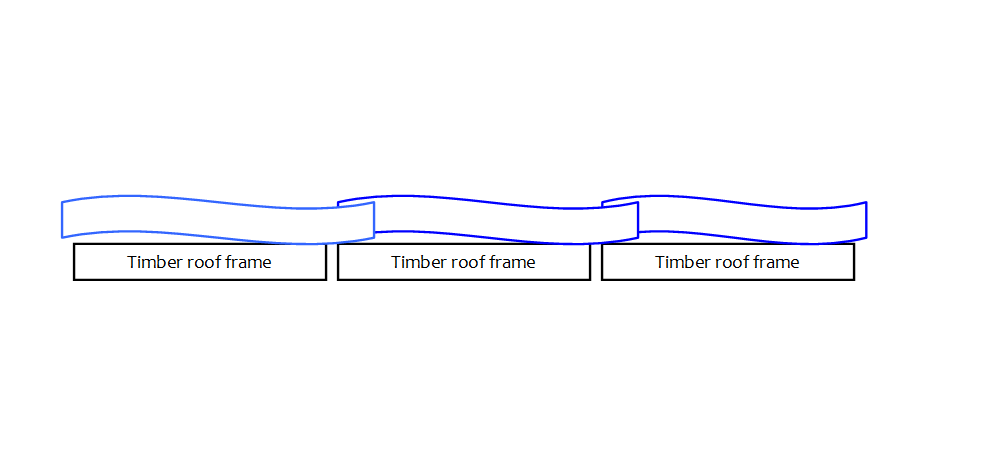
See below diagram to show how to fix roof panels to sides.
If
the roof panels are mounted with waterproof sheets make sure the
overlap created on the panels are in the middle to prevent any water
leaking in.
This is displayed in the image below.
Finally if you catio has come with any shelves or accessories these can be added by you once the structure is up.
If you have corner shelves with the runs make sure the corner supports (pieces of timber half he width of panels) meet in to corner of the run to be the support for the corner shelves.
Shelves and sleeping crates are simply screwed to the centre support beams and rope bridges can be fixed between accessories acting as a bridge.
Always take care screwing items together, turning down drill speed will help prevent any timber cracking.
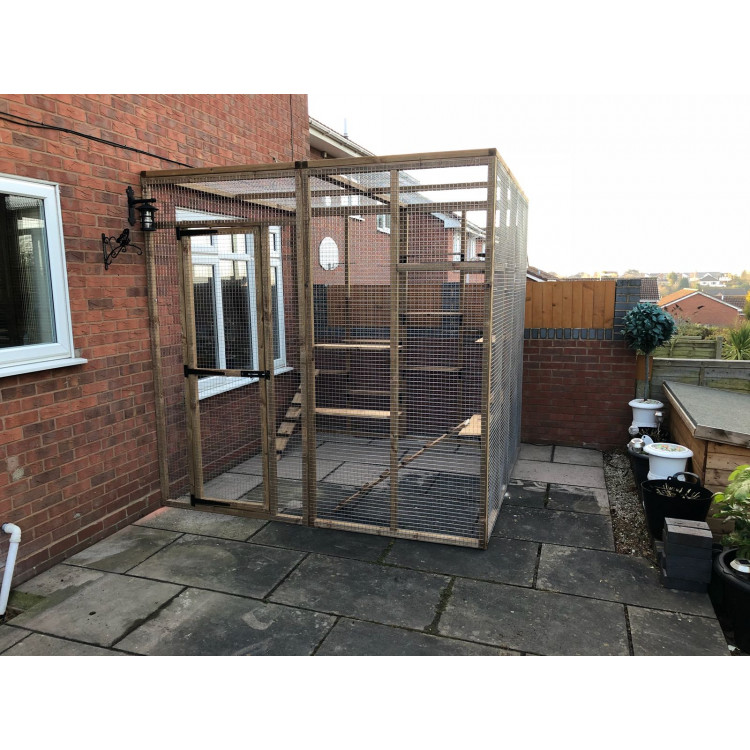
Here is the finished product!